秘亭(himetei)です。
Windows 10で使っていたフォトアプリの「スポット修正」がWindows11からなくなりました。
その代わりとしてWindows11の3Dペイントアプリでも写真に写った不要なものを消すことができます。
Windows 11で写真に写っている不要なものを消す方法
ペイント3Dを使って写真に写っている不要なものを消したいと思います。
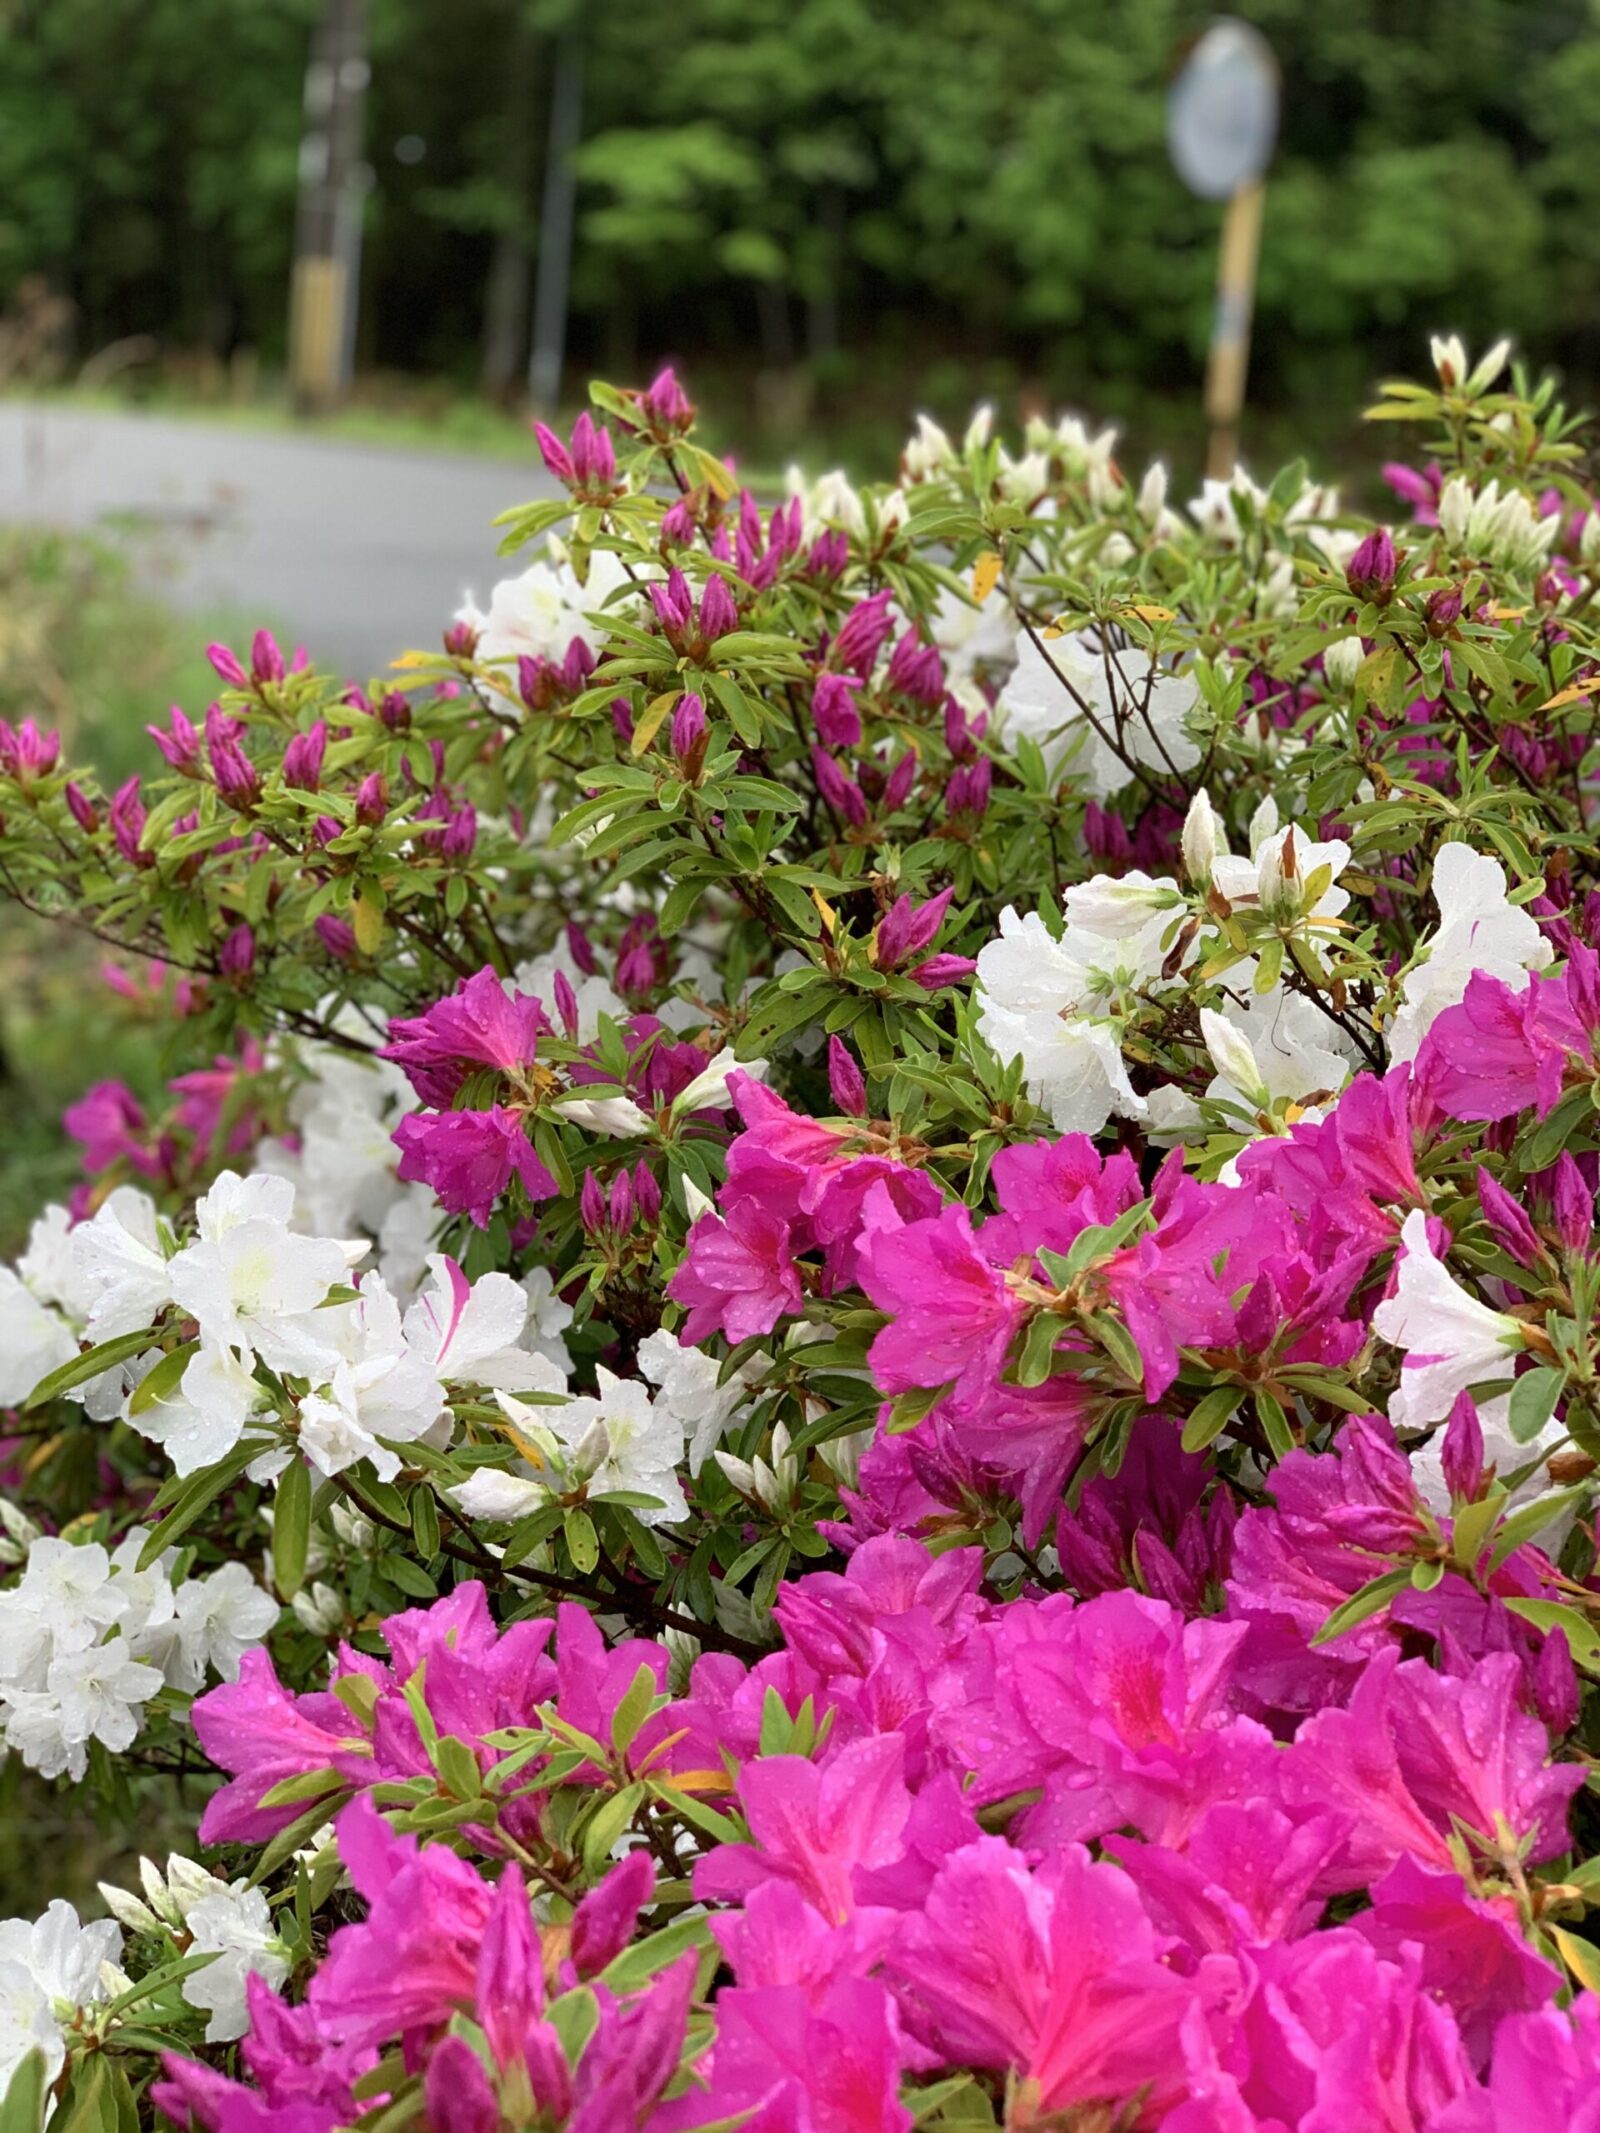
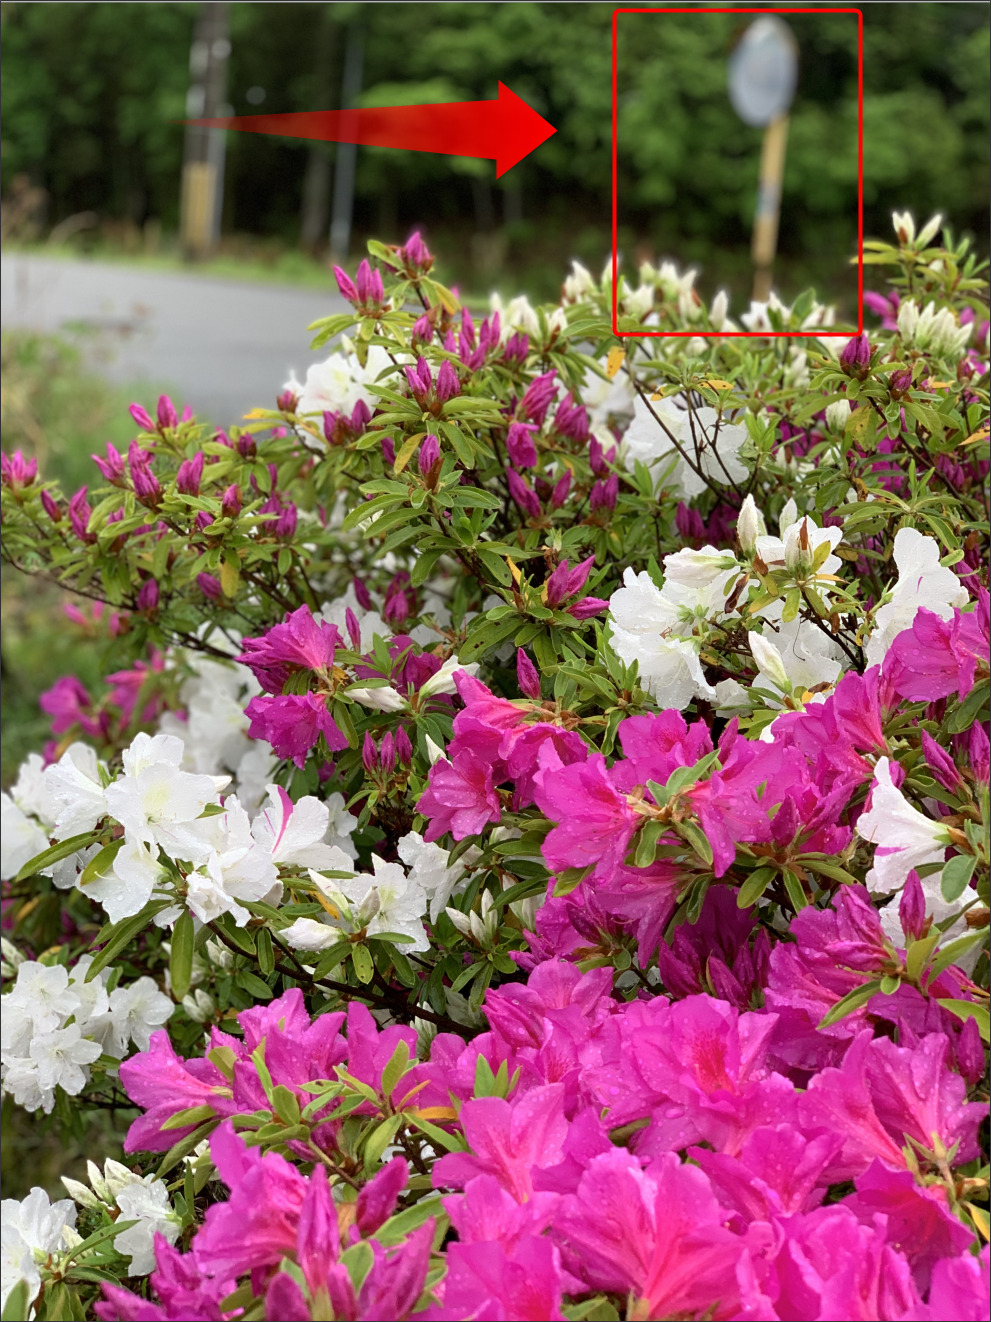
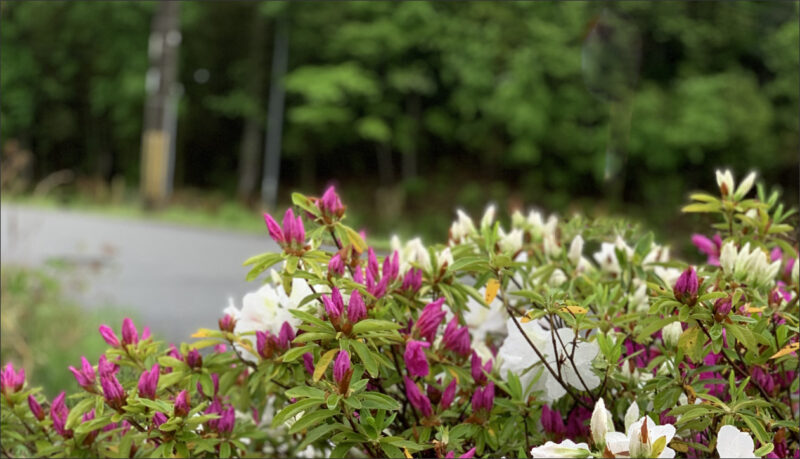
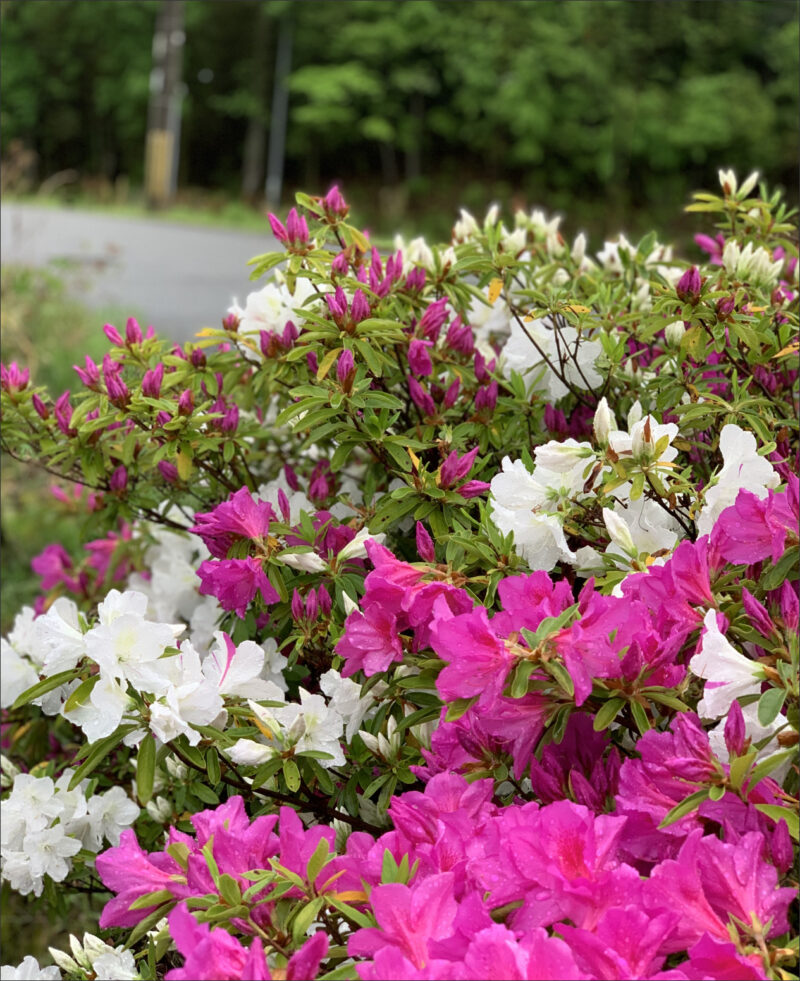
不要なものを消す前の「元画像」と消した後の「削除後の画像」を並べました。
奥のカーブミラーをきれいに消すことができました。

ペイント3Dインストール
ペイント3Dが見当たらない場合はインストールしてください。
(※Windows 10からアップグレードした場合はそのまま残りますが、クリーンインストールする場合はプリインストールされず、Microsoft Storeから別途ダウンロードする必要があります。)
3Dペイントインストールはコチラから。

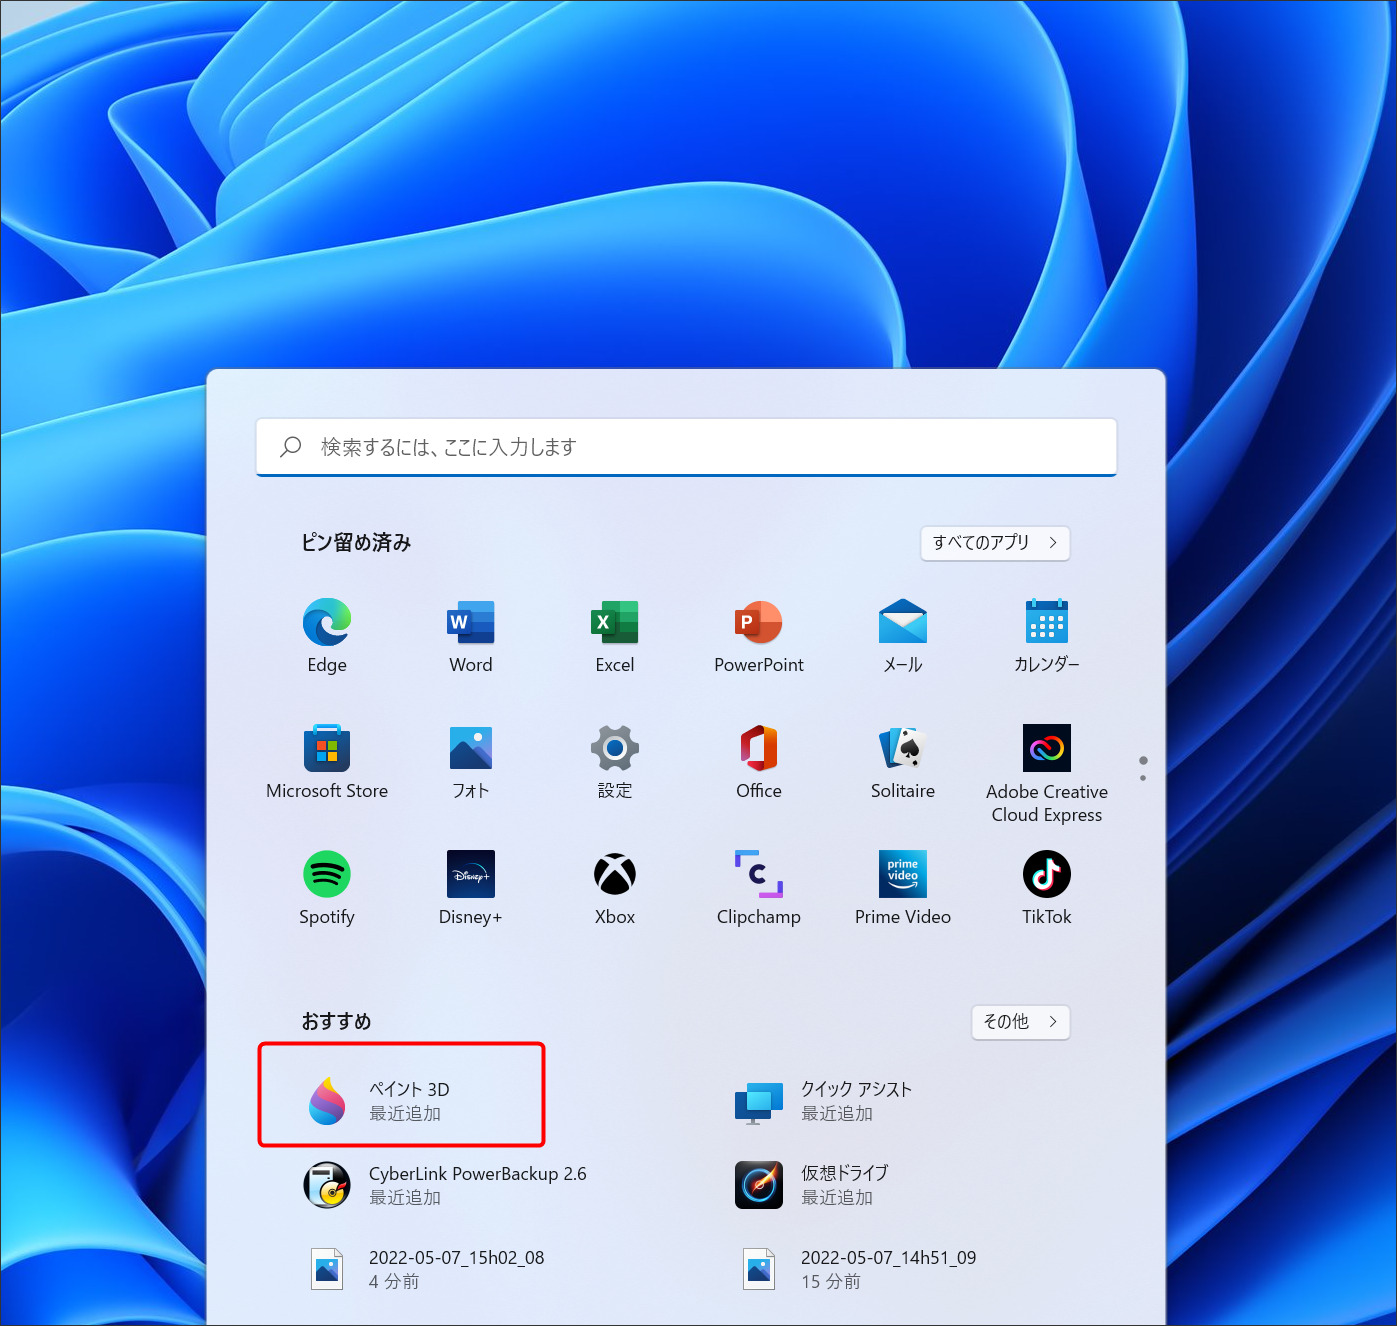
Windows11スタートからでも取得できます。
「アプリ」で検索してください。
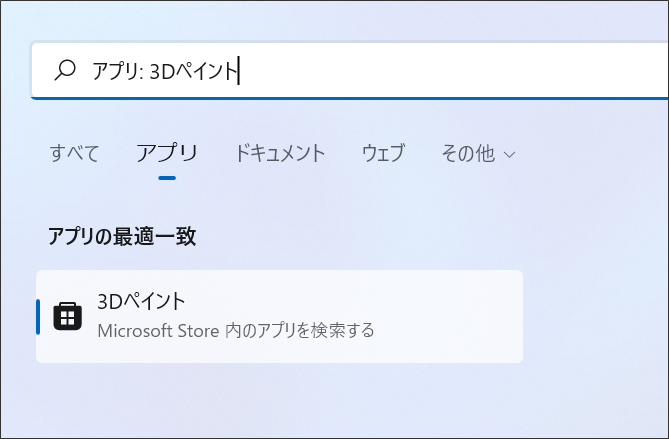
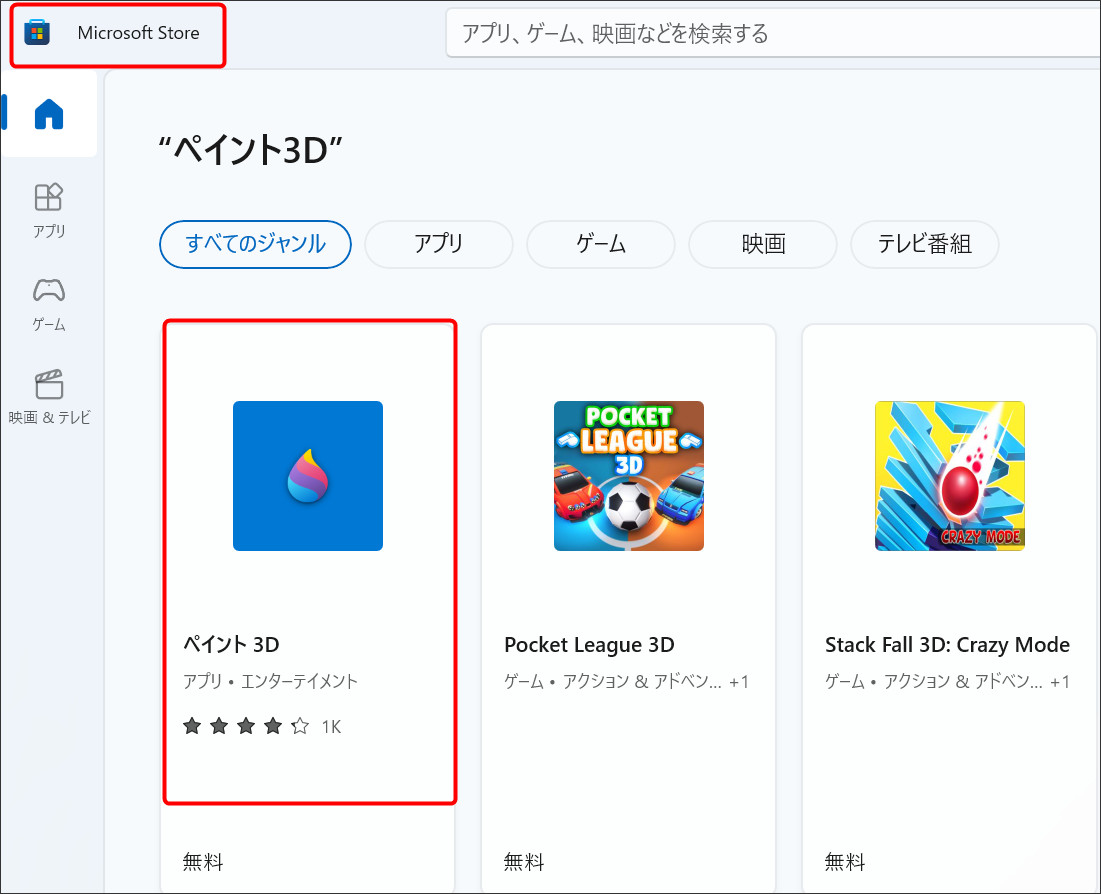
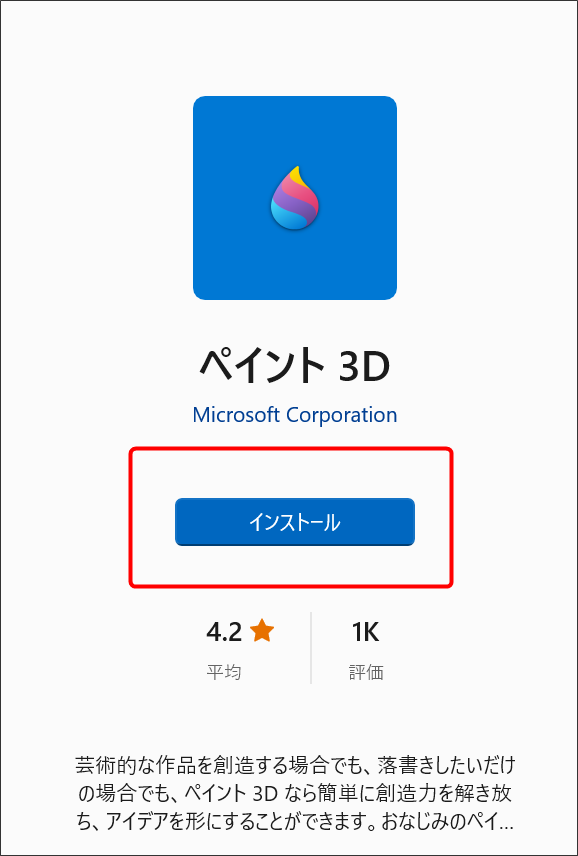
入手をクリック。
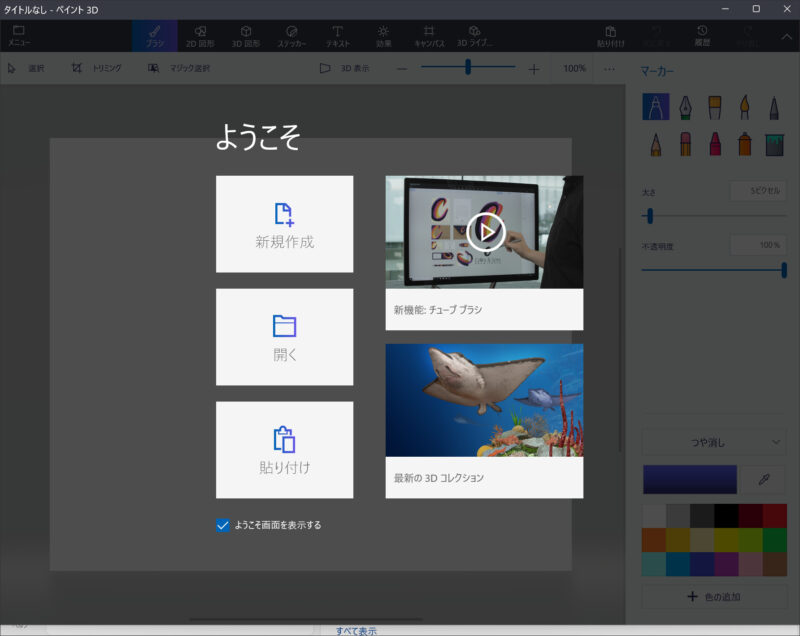
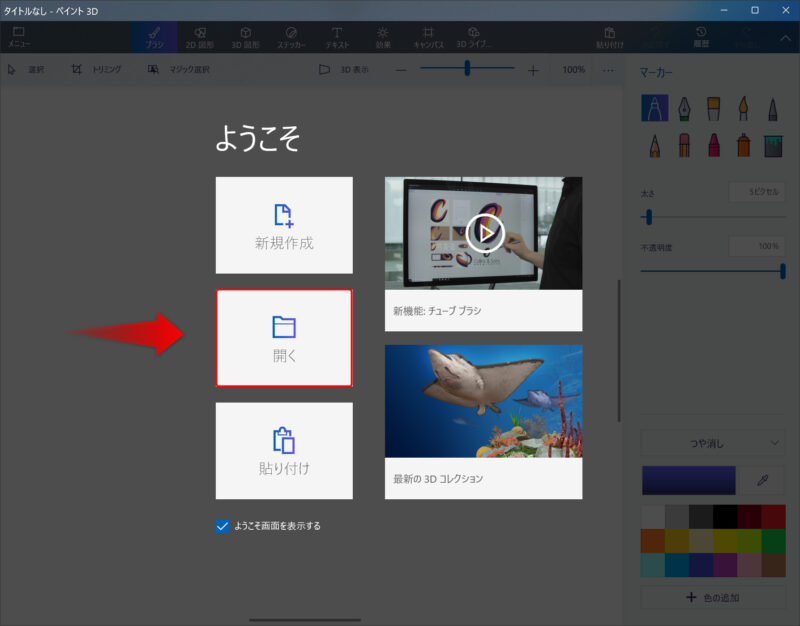
インストールしてアプリをクリックすると「ようこそ」と開きます。
写真に写っている邪魔なものをペイント3Dで消す
奥のカーブミラーを消したいと思います。
アプリを開きます。
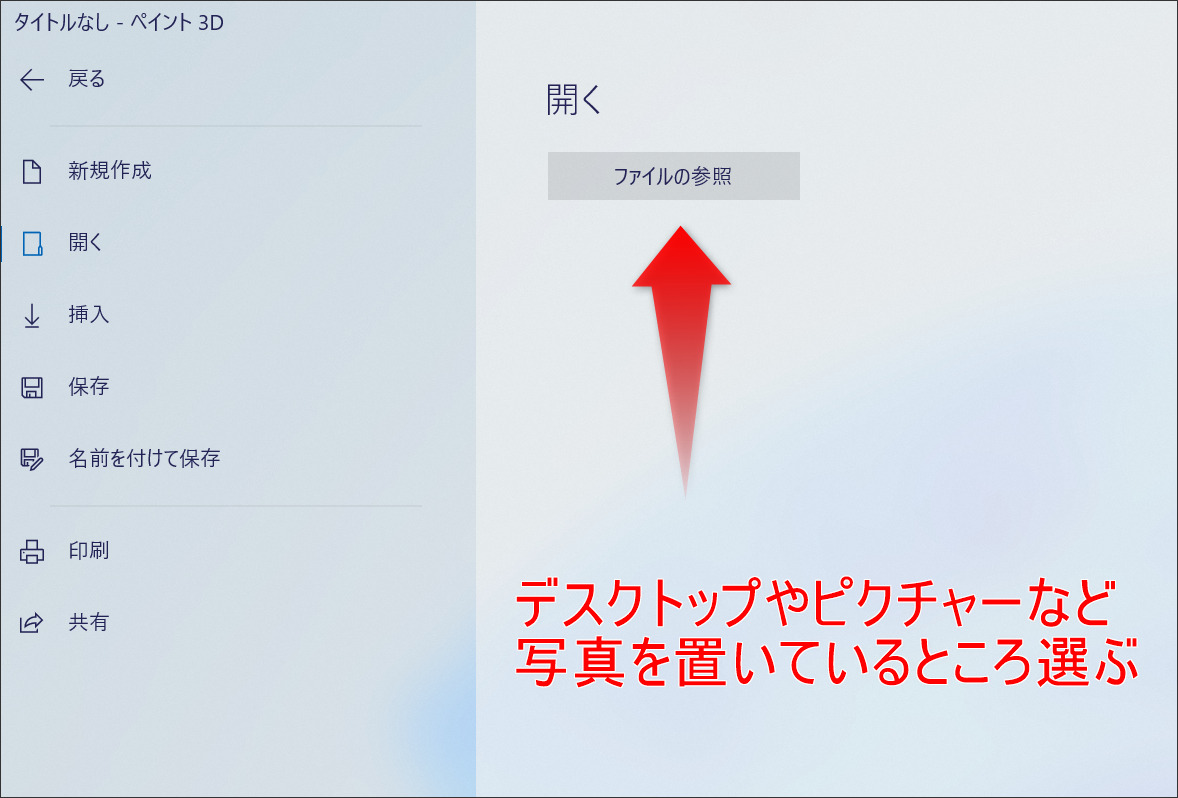
「開く」をクリックして補正したい写真を選びます。
写真を選んでください。
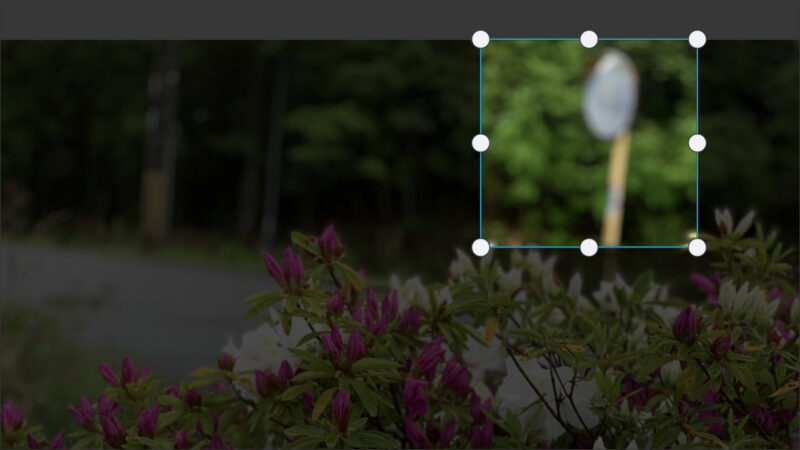
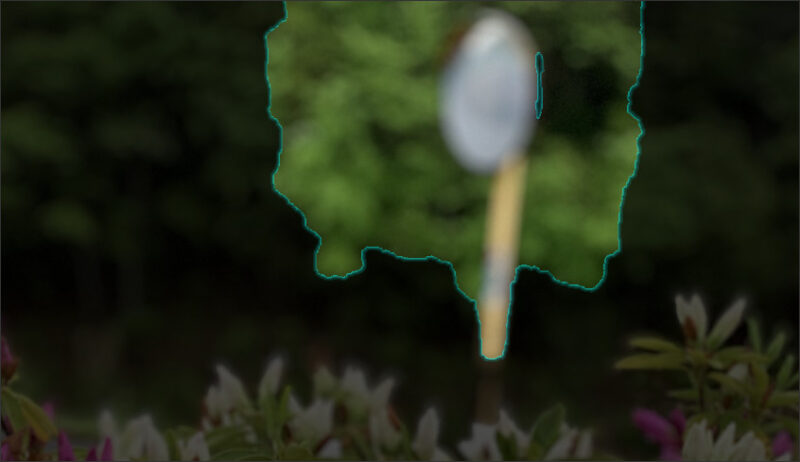
左上にある「マジック選択」をクリック。
すると、写真全体を青緑の線で囲まれます。
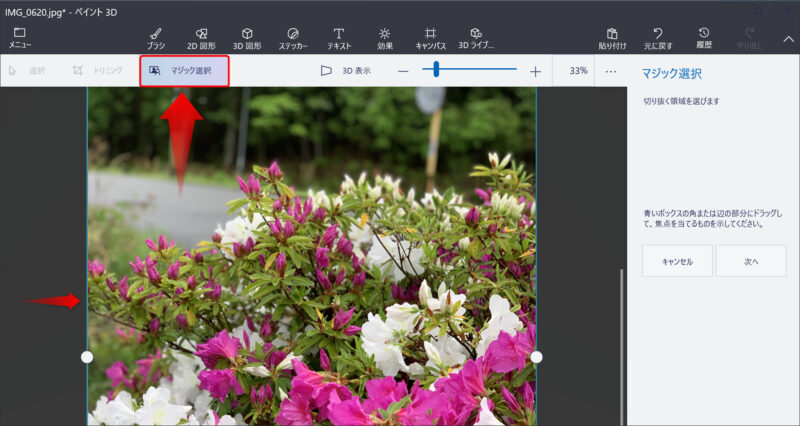
消したい対象物を囲む→右端の「次」をクリック。
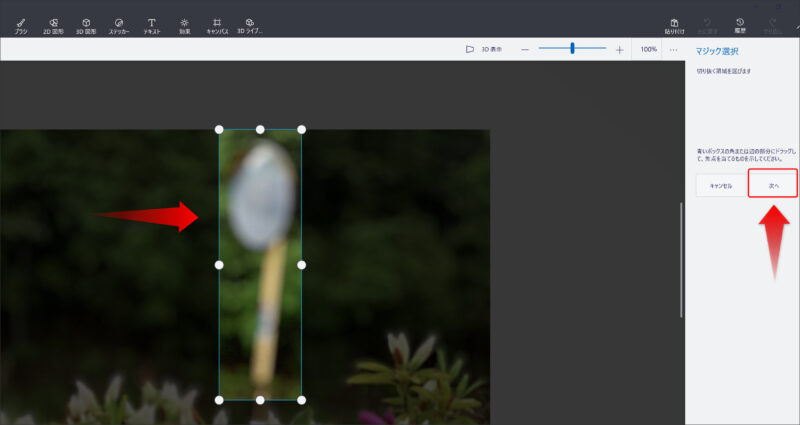
「次へ」をクリックすると一瞬で対象物が浮き上がるように出てきます。
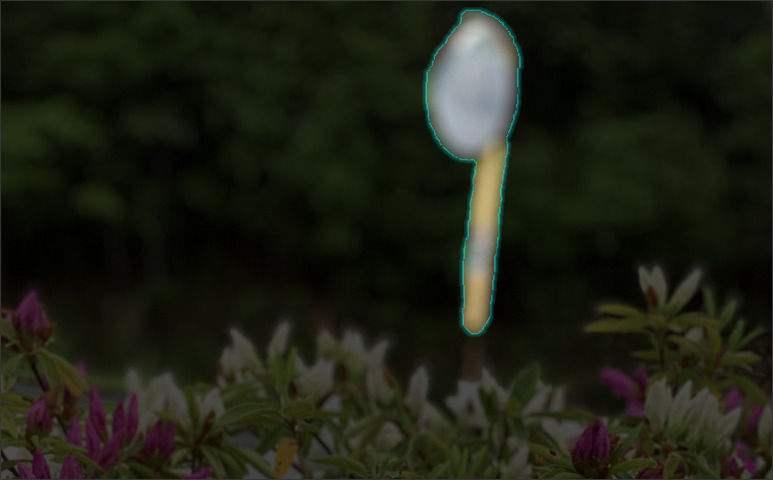
右のバーにある「完了」をクリック。
細かな調整は「追加」「削除」で補正したいところをなぞってください。

「完了」をクリック。
背景のオートフィル機能:自動で周りの背景になじませてくれます。
カーブミラーが消えました。

きれいに背景をなじませるポイントは、少し広めの範囲を選択すると良いです。
一度でキレイにできなかったので二回ほど調整しました。
ペイント3D保存
補正した写真を保存しましょう。
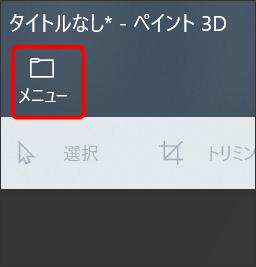
アプリの左上「メニュー」をクリック
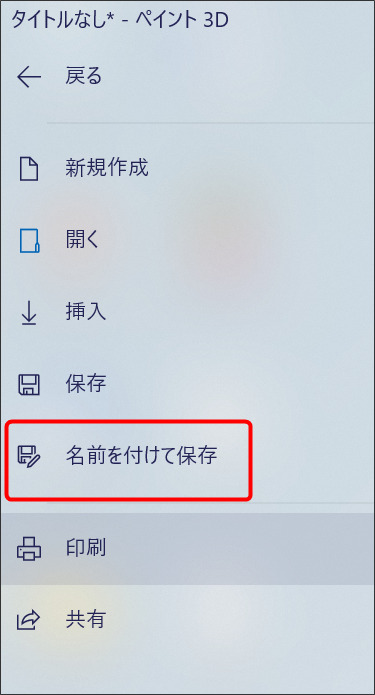
「名前を付けて保存」で完了です。
Windows 10のフォトアプリなら今でもできる
下記は、himeteiの管理しているサイトです。

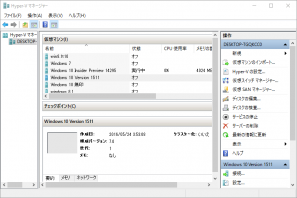
Windows11 様々なOS環境を作る
どうしてもWindows 10がないとき。あるいはWindows 10を起動するのが面倒な時は、1台のパソコンでWindows 10も動かせます。気になった方は、お試しください。
Hyper-Vを使うことで、メインのWindows11のパソコンの中にWindows10やLinuxやWindowsXPのパソコンと同等のものを仮想環境として内蔵できるので、パソコン本体は1台だけなので多くのパソコンを持っていなくても可能。